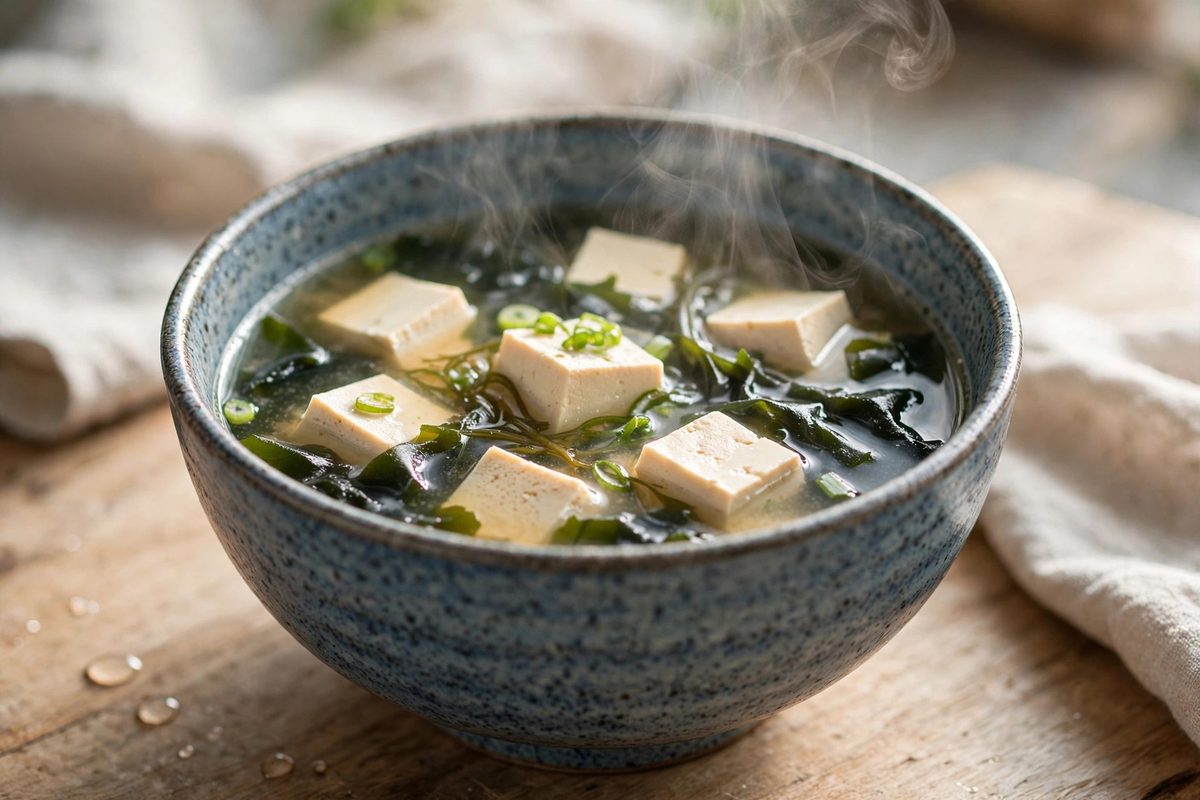
Miso Soup — The Everyday Japanese Soup
How to make miso soup properly: dashi, miso choice, classic ingredients, and the mistakes to avoid.
Why miso soup matters
Miso soup is the quiet backbone of Japanese home cooking. It appears at breakfast, alongside rice and grilled fish, and at dinner as a light companion to richer dishes. It is quick, warming, and endlessly adaptable, and it teaches the core Japanese skill of balancing dashi and miso. A good bowl tastes savoury and clean rather than heavy, with the miso flavour clear but not overpowering. Once you can make it well, you can vary it every day of the week without ever getting bored.
Start with dashi
Dashi is the stock that carries the soup. The standard home version, awase dashi, combines kombu (dried kelp) and bonito flakes. Soak the kombu in water for thirty minutes, heat it gently until just before boiling, remove it, add the bonito flakes, simmer for a minute or two, and strain. If you are short on time, good-quality instant dashi granules are acceptable and widely used in Japan. The dashi calculator on our home page scales the kombu and bonito amounts for any amount of water. A weak dashi makes a flat soup, so do not skimp on this step.
Choosing your miso
White miso (shiro) is mild, sweet, and light in colour, and suits delicate soups. Red miso (aka) is stronger, saltier, and deeper, and suits heartier ingredients such as root vegetables. Awase miso is a blend of the two and is a good all-round choice. Miso is sold as a paste, so buy a tub that smells fresh and savoury, and keep it refrigerated after opening. Different brands vary in saltiness, so the amount you need will change a little each time, and tasting is part of the method rather than a sign of failure.
Adding the miso the right way
Never boil miso soup after the miso goes in. Boiling dulls the aroma, kills the beneficial cultures in unpasteurised miso, and can make the flavour harsh. Instead, heat the dashi and cook the solid ingredients first, then take the pot off the heat, whisk the miso with a little hot dashi in a small bowl or ladle until smooth, and stir it back in. Start with about one tablespoon of miso per cup of dashi and adjust to taste. This gentle method is the single most important technique in the whole recipe.
Classic ingredients
The classic combination is wakame seaweed and small cubes of tofu, finished with chopped spring onion. Soak dried wakame for a few minutes until it expands, then add it near the end so it stays tender. Add tofu last so it heats through without breaking apart. Other good additions include thinly sliced mushrooms, spinach, potato, aubergine, or a beaten egg drizzled in slowly. Add ingredients in order of cooking time: root vegetables first, leafy greens last. Keep the total amount modest; miso soup is a light soup, and overloading it makes it a stew.
Serving and daily variations
Serve miso soup hot in small bowls, alongside rice and a main dish, and drink it straight from the bowl with chopsticks for the solid pieces. In summer, a lighter white miso with summer vegetables works well; in winter, a red miso with root vegetables and mushrooms is warming. Leftover soup keeps in the fridge for a day or two, but reheat it gently without boiling, and add fresh spring onion when serving. Once the method is familiar, miso soup takes about fifteen minutes and becomes one of the most reliable dishes in a home kitchen.
Frequently Asked Questions
Why should I not boil miso soup?
Boiling after adding miso dulls its aroma and flavour and can destroy the live cultures in unpasteurised miso. Add the miso off the heat and keep the soup just below a simmer.
Can I make miso soup without dashi?
You can use water or a light vegetable stock, but the soup will taste flatter. Instant dashi granules are a good middle ground and are widely used in Japanese homes.
How much miso do I need per bowl?
About one tablespoon per cup of liquid is a good starting point. Taste and add a little more if needed; brands differ in saltiness, so there is no single exact amount.